Showing posts with label diy. Show all posts

Friday, August 28, 2015

Lovely Flower Frame

So, with my daughter telling me how much she hates her room (ugh...) I wanted to make it more exciting, fun, and special for her.  It was bare-ish, so I knew it needed a little pizzazz.  She is an artsy, craftsy, girly little lady, so I knew we had to get creative on how to make this space special.


I wanted a "cost effective" DIY craft that would have a big impact.  I knew this was it!

Supplies Needed:
  • Full Length Mirror (I bought mine from Home Depot for about $5)
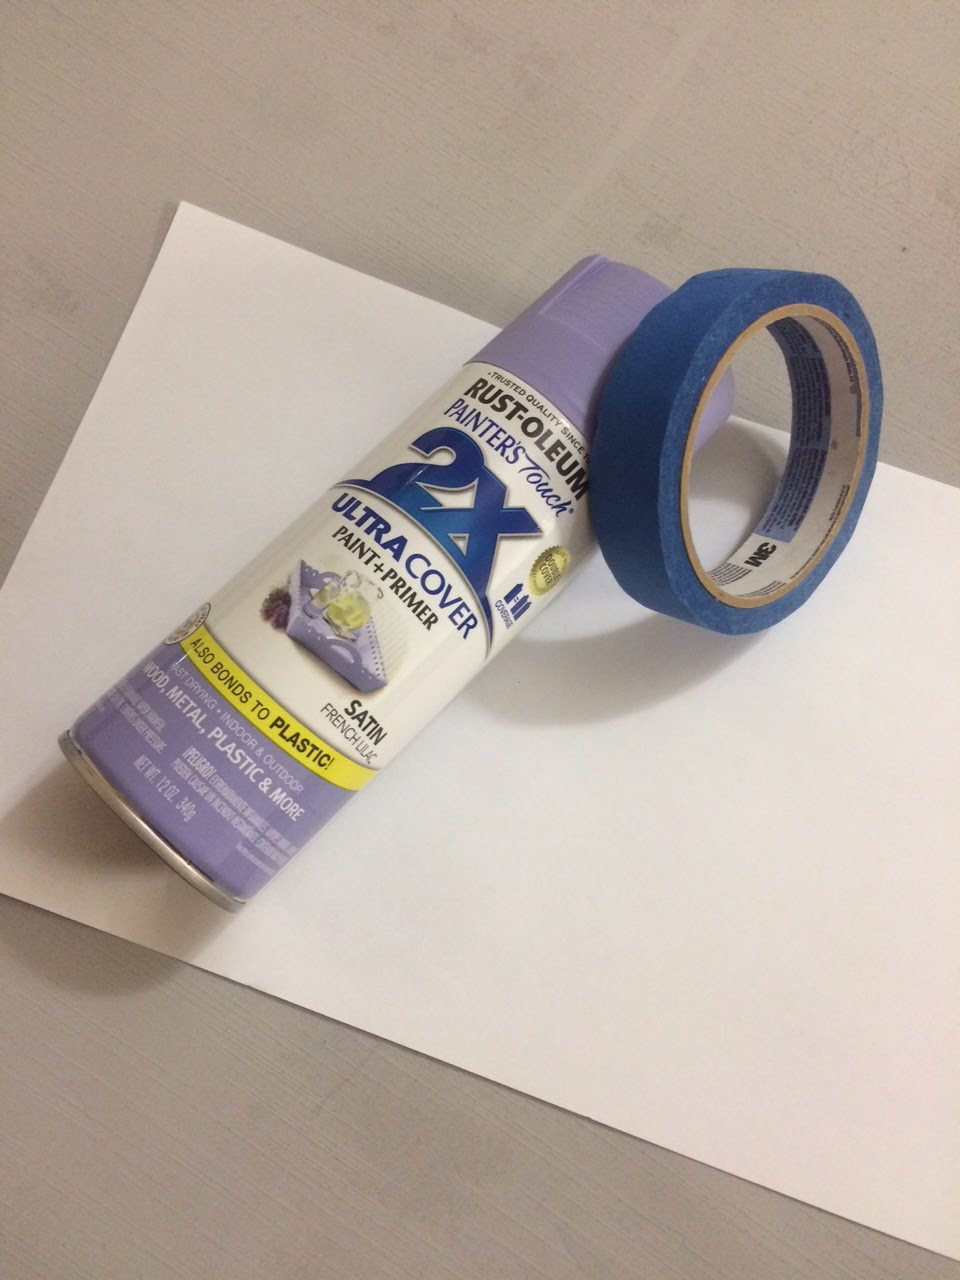
  • Small sample size or can of spray paint in your favorite color
  • Faux Flowers
    • I suggest 4-5 styles in coordinating colors and various sizes
    • For reference I used approximately 35 single buds to cover the surface area pictured
  • Painters tape
  • Paper to cover up mirror from paint spills / over spray
  • Hot glue gun with extra glue sticks

I started out with a plain white framed mirror.  I saw this really pretty lavender spray paint and wanted to give it a try.  It was about $4, so I thought this was a perfect project to give it a try and see what I thought of spray painting instead of chalk painting.  So,  I took some paper and covered up / taped the mirror to avoid spills and over spray from the paint.


 I sprayed the mirror with two coats of paint to ensure it was fully covered.  It went on smoothly and covered evenly.  Overall a great result that was quick and easy!  I let it set and dry for 24 hours before I started on the flowers.


I removed the stems and cut down the little nubs from the back of the flowers to create a flatter surface to attach the flowers to the mirror frame.  I started by playing with the layout of the flowers before I began gluing.  It allowed to to mix and match, and ensure I had enough flowers allotted for the top, side, and bottom of the mirror.


Once I glued all of the flowers down, I let it set for about 10 minutes to let the hot glue cool and dry.  The mirror turned out really cute and my daughter loves it!  She loves the purple color and al of the pretty flowers.  I personally love the way it looks too.  Plus it was a simple, fun DIY project that didn't cost an arm and a leg - nor did it leave me with a ton of "left over" materials to store - YAY!

Wednesday, August 12, 2015

DIY Framed Art Hangers

 
I love a good DIY project.  I have undertaken the task to update, refresh, and decorate my 5 year old daughter's room.  She has challenged me to "make her room pretty", and I have accepted.  Like most 5 year olds, she loves to draw, make art, and crafts, so I wanted to give her a place (other than the over-filled fridge door) to hang her pictures.  Like the rest of our home, our artwork is surrounded by beautiful frames, so I wanted to offer her the same opportunity. 
 
Supplies needed:
  • Several wood frames 8x10 or larger
  • Paint
  • Paint brush
  • Staple gun
  • Mini clothes pins
  • Steel Wire (or any string / wire  to hang)
 
I started with three old wood frames.  Try to go with 8x10 or larger, to offer enough space to hang a picture.  Also, the more intricate or decorative the better.  Begin by wiping off any dust or debris from the frames to ensure you are working on a clean piece of wood.  As you can see, I placed an old rag / shirt under my work surface to catch any spills or messiness.


As you know, I love the Annie Sloan chalk paint because its easy to use, no prep, and the colors are really pretty.  My daughter's room colors consist of greys, purples, pinks, and light blues and Annie Sloan offers great choices.


Go ahead and begin painting.  Ensure you get all of the little crevasses, sides, and insides that may show.  I used two coats to be sure there was a clean, even coat of paint.  Let them sit until completely dry.  I let mine sit overnight, but with the Annie Sloan that is not necessary.  I wouldn't continue to the next step until your paint is 100% dry!

The next step requires a few more supplies: the staple gun, wire, and clothes pins.


First, I measured out the wire and cut it to be about 2" longer than the width of the frame - which ever way you are hanging, landscape or portrait.  I folded one end of the wire and stapled to the back of the frame approximately 1.5" down from the top of the opening. 

Next, take two clothes pins and slide them down the open end.  Repeat with folding the loose wire end and staple to the back of the frame.  Be sure that when you staple down you are pulling the wire taut.  I also went crazy with the staples to ensure they took the beating from a 5 year old who will clip and unclip all day long.


 Finished product!  I made two portrait and one landscape.  I am in the process of painting and hanging a few more on her wall since she loves the frames so much. 


As a side note: I decided to take a few colors from her favorite Cinderella canvas, and paint the frames in coordinating colors.  I hung the frames around the art to create an art space on one of her walls!  Good luck -  any tips or questions?!

Tuesday, July 28, 2015

My 5 Dollar Chair

One of the more recent hobbies that I have gotten into has been restoring and repainting furniture.  I have become obsessed with Annie Sloan chalk paint and all of the fabulous things you can do with it!  I love to go on a garage sale hunt (when I find the time / wake up early enough) to find a great home accessory or if I am lucky, a furniture fixer-upper DIY.

During a long Easter weekend, my friend and I decided it was the day to scavenge the neighborhoods for a killer deal.  Well, we scored these beauties for $5 a piece!

 
Okay, so it was totally filthy. and gross. and the arms were wiggly.  Okay, it was a total mess, but I saw potential!  I was looking for inspiration on how to make this chair unique and fit in my modern décor, so I decided to go with one of my favorite Annie Sloan colors, Florence. 

 
I got the wild idea of throwing on some really cool gold accents to go with my recent obsession with metallic and gold throughout my living spaces.  I decided to try the Martha Stewart Living Metallic Glaze.


Unfortunately, I didn't take the time to snap some cool "in the moment" shots.  I got right to it and never stopped for a breath!  So, I started off by removing the seat, disposing of the old fabric, and giving the wood a good scrub.  With the Annie Sloan chalk paint there is no need to remove prior paint or finishes so I jumped in and applied the first coat of paint.  Then came the second, to ensure it was fully coated and all of the cracks were covered.  I didn't dilute the paint or change the tone by lightening it etc.  I wanted to paint this baby full-strength!

Next, I started with adding the gold highlights onto any raised areas, and I decided to "wing it" on the back of the chair on both sides.  Like so:


Lastly I reupholstered the seat, screwed it all back together and ta-da!  Here is the finished project, with a few pretty highlight areas...


What do you think?  Do you have any experience with Annie Sloan or repainting furniture?

Thursday, July 23, 2015

DIY Gold Table - How To

So this is my dining table:


It was totally second-hand, purchased from a neighbor for $50, except it looked like this before:

It is the Ikea Granas table and chairs set (retails for $199).  I didn't love the chairs, so I ended up selling them for $25.  So I ended up really spending $25 on the table (and about an hour of my time dealing with Craigslist).  With a few ideas in mind, I decided that I wanted to style my dining room in white, gold, and glass / transparent accents.  So I ventured out to Home Depot and bought a couple cans of this:


In starting, I took the table outside, set up a giant sheet, and spent about an hour to wipe down the table, carefully spray paint, and then spray again for any missed spots.  It ended up being a really easy process and the paint took to the table fairly well!


 After spending approximately $40 total for the table and two cans of spray paint, I have a lovely new dining area!